How to Add My Listing on GoToRated
Adding your business listing on GoToRated is simple, but it requires you to follow specific steps to ensure your listing is complete and approved. This guide explains the entire process from creating an account as a service provider to publishing your listing. Let’s get started.
Step 1: Create an Account as a Service Provider
Before you can add your listing, you need to create an account as a service provider.
Follow the detailed steps in our support article:
How to Create an Account as a Service Provider
Once your account is successfully created and verified, you’re ready to proceed.
Step 2: Accessing the My Listings Section
1. Log in to your service provider account.
2. In your dashboard, locate and click on the My Listings option.
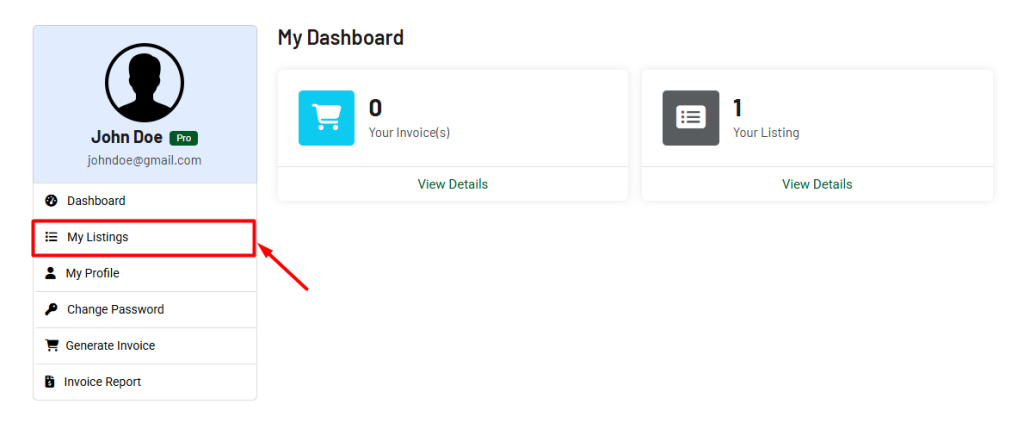
3. You’ll see a listing with the company name you provided during account creation.

4. Claim Status: A blue tick mark with the word Claimed will indicate that the business name is linked to your account.

5. You’ll also see two buttons next to your listing:
- Edit
- View Live

Step 3: Viewing Your Listing
Click on the View Live button to see your listing.
- Initially, your listing might not appear on the live page.
- This happens because your listing information is incomplete and needs approval from the admin after you update it.
Step 4: Editing Your Listing
To edit and complete your listing:
- Click on the Edit button next to your listing.
- You’ll find six sections to fill out. Make sure to provide accurate and detailed information.
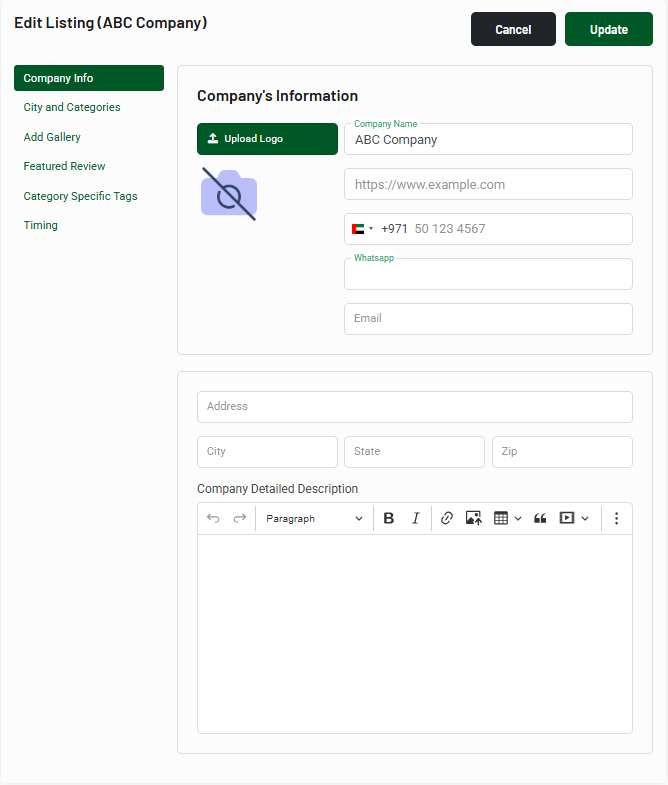
1. Company Info
In this section, provide the following details:
- Website
- Business Phone Number
- WhatsApp Number
- Address
- City
- State
- Zip Code
- Company Description: Write a detailed overview of your company, including the services you offer, your experience, and what sets you apart.
2. City and Categories
- Select the city where you provide services.
- Choose the appropriate category that matches the services you offer.

3. Add Gallery
- Add or remove images for your listing’s gallery.
- Allowed file types: JPG, PNG, JPEG, GIF, WEBP.
- You can also add captions to your images for better clarity.

4. Featured Review
If you have reviews on Google, you can add one of them here. Provide:
- The review text
- The reviewer’s name

This review will appear prominently on your listing page.
5. Category-Specific Tags (SEO Tags)
Enhance your listing’s visibility by adding:
- SEO Title
- SEO Tags or Keywords
- SEO Description
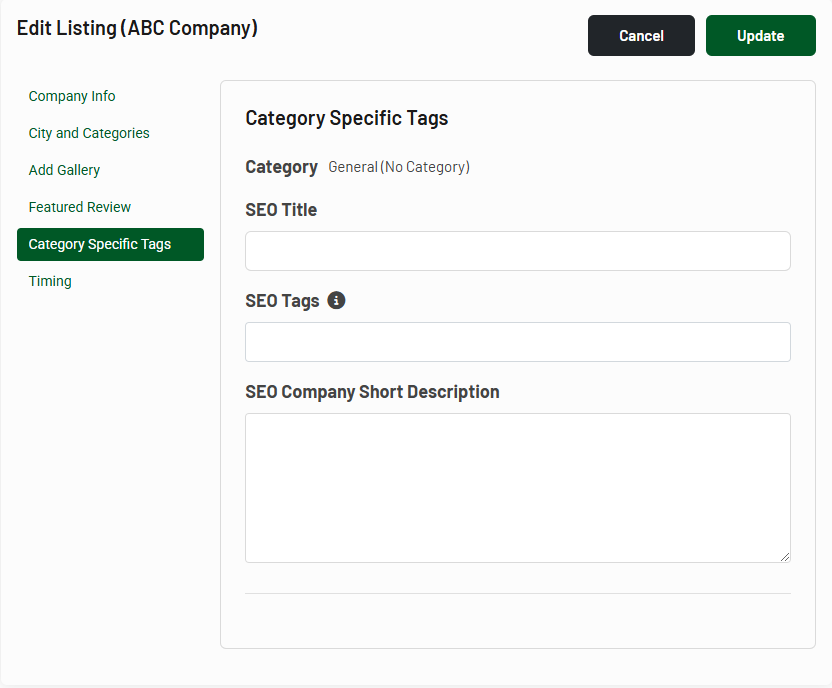
These tags help improve your listing’s search engine ranking.
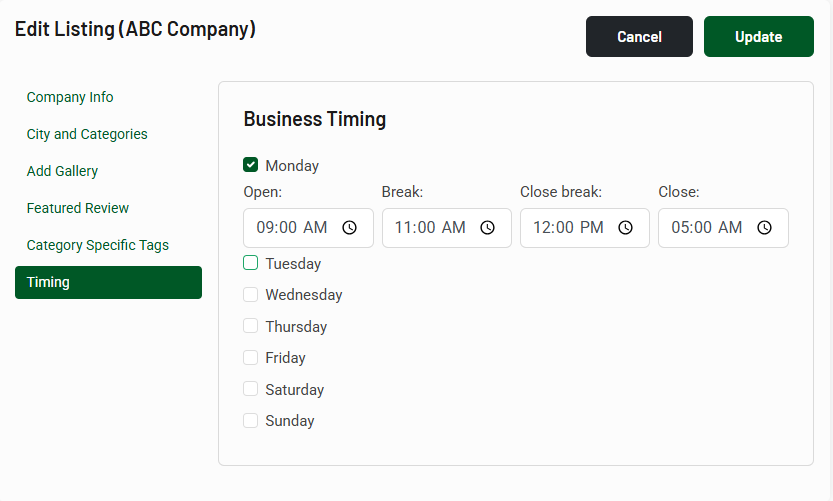
6. Timing
Specify the days and hours you offer services by checking the appropriate boxes.
Step 5: Updating and Submitting Your Listing
- Once all fields are completed, click the Update button at the bottom of the page.
- You’ll see the message:
- Your listing has been successfully updated!

Your listing has been created successfully, but it’s not live yet.
Step 6: Wait for Admin Approval
After submitting your listing, wait for approval from the GoToRated admin team.
- You’ll receive a notification once your listing is approved.
- Once approved, go back to the My Listings section and click on View Live to see your published listing.
Final Note
By following these steps, you can ensure that your business listing on GoToRated is complete and ready to attract customers. If you face any issues during the process, feel free to contact our support team for assistance.